Feature Rich
alphaTab provides a huge variety of features to build your music notation app:
- Load music notation from formats like Guitar Pro 3-8, MusicXML, Capella or use the built-in text language alphaTex.
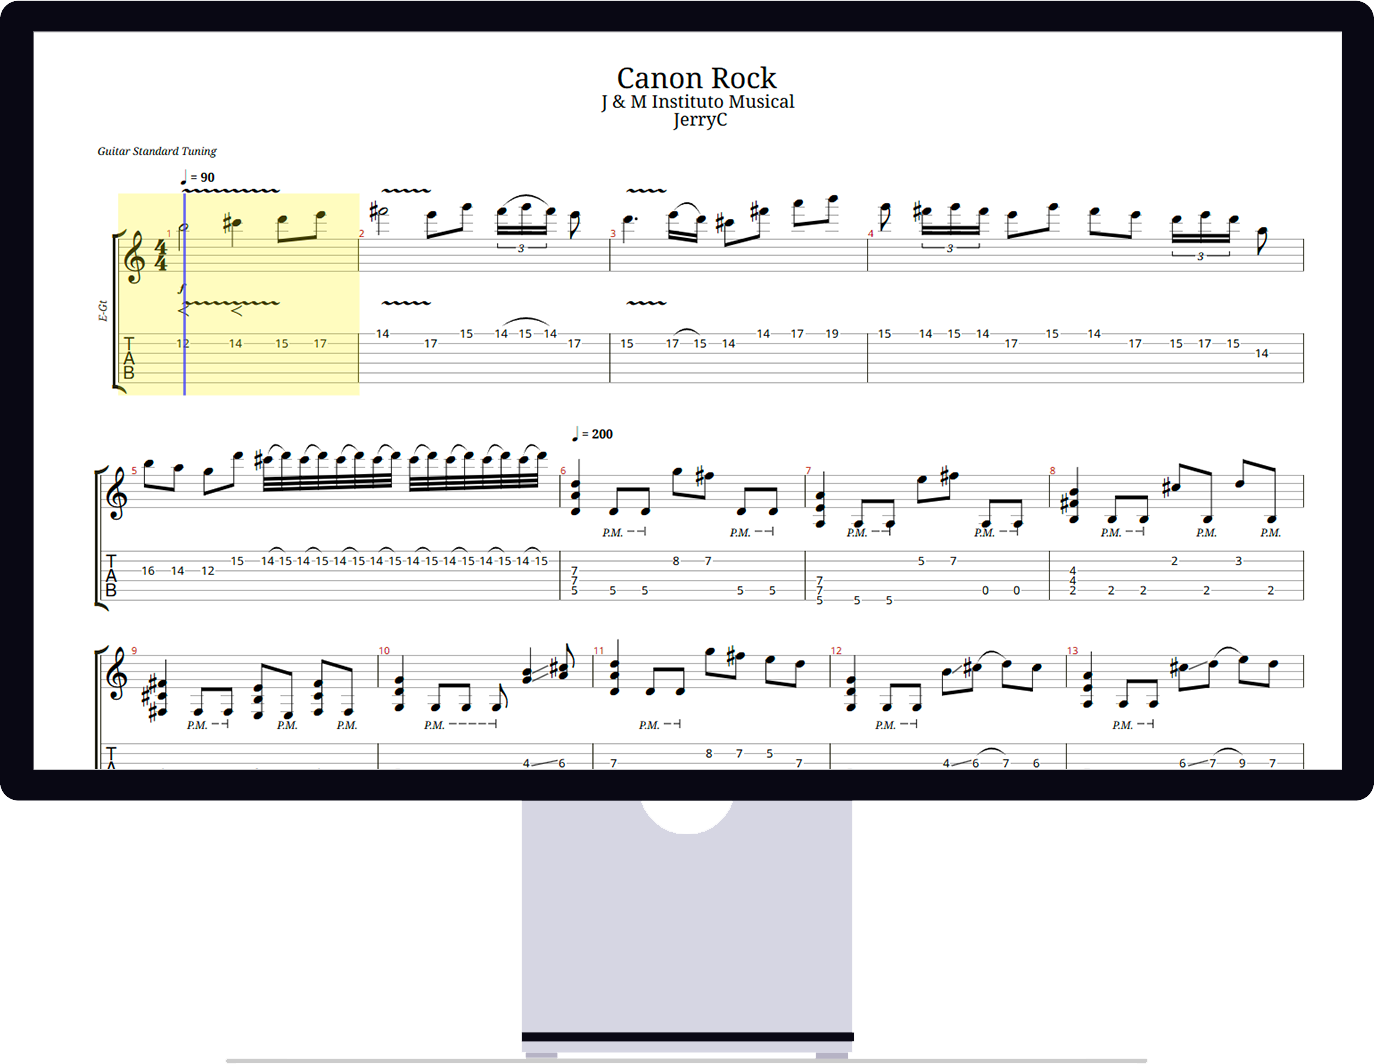
- Show standard music notation, guitar tabs, drum tabs, numbered notation (jiǎnpǔ) and slash notation.
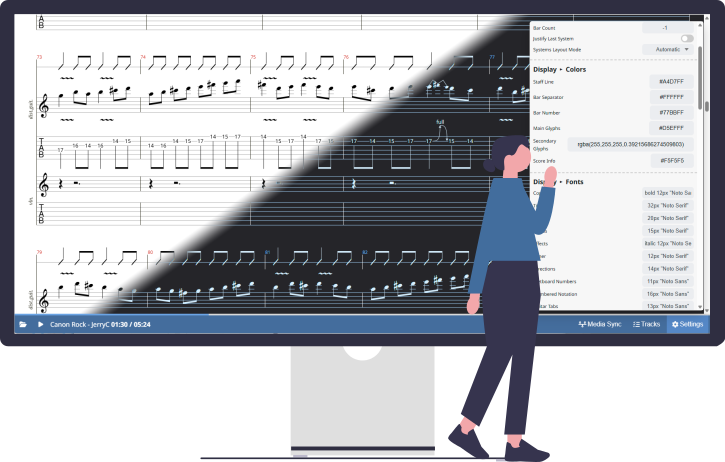
- Adjust the music sheet look with layouts (horizontal/vertical), zoom levels, custom paddings and coloring elements to your preference.
- Interactively play songs with the built-in synthesizer including tempo control, looping, transposing.
- Synchronize songs with real audio or video recordings.
- Show individual instruments (tracks) of the overall song, or combine multiple tracks. Control the volume, pan and transposition of all instruments live.
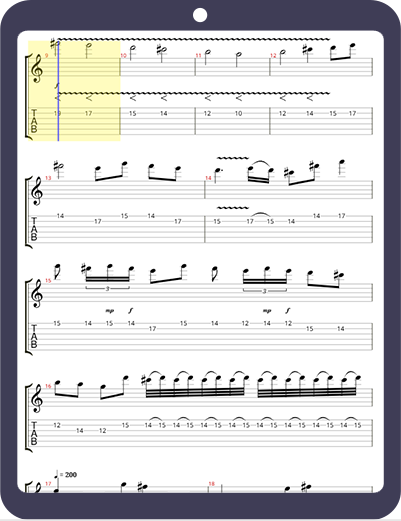
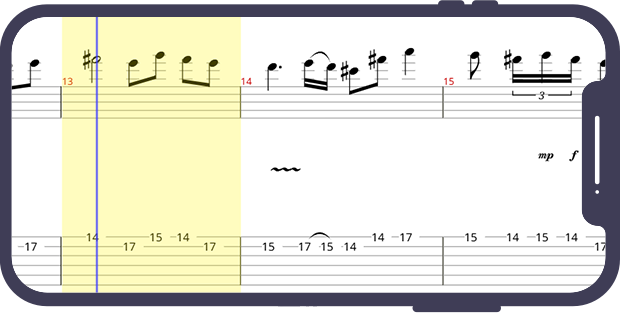
Responsive Display
alphaTab adjusts to the available screen resolution. Resizing rearranges the music sheet dynamically to fit again the available space. We provide a wide variety of layout options to adjust scaling, paddings and the general arrangement used. Your app will be notified about any resizing so you can adjust as needed. This way you can serve your users always the best viewing experience.
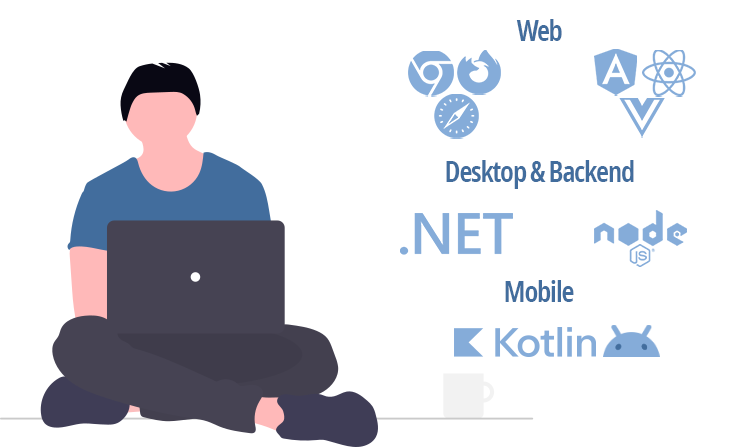
Designed for Cross Platform and Full-Stack usage
The core of alphaTab is designed to run with minimal external dependencies and on multiple platforms and runtime environments. From one central code base we provide alphaTab for web based apps (JavaScript), apps using .net and Kotlin for Android. Use alphaTab in your backend and frontend using your preferred technologies to build the app you want.
Audio Playback
The built-in audio synthesizer allows users to hear what they are seeing. Using SoundFont2 and SoundFont3 containers as input, alphaTab can generate the matching audio to the displayed music notation and provide a live display cursor including interactive selection of playback position and ranges.
Or use real audio and video recordings and synchronize them with your music sheet. Let your users play along backing tracks, real songs or build training lessons. alphaTab can be integrated with any custom external media as you need it.
Free as in Beer
alphaTab is provided to you for free under the terms of the MPL-2.0 license. It is developed and continuously improved since more than 15 years (2010). Simply use it in your projects or even contribute to it making it better for everyone.